In today’s guest post, our Head of Arts & Crafts, Jason Hess, reflects on working in this special department at camp. Below, check out photos of some of the artwork made by our campers, in addition to a DIY project for folks at home who want a taste of the magic that is Tawonga art!
As a camper at Tawonga for eight years, and a staff member for the last three, I cannot express enough how much of an influence Arts & Crafts (A&C) has had on me. I am currently a working artist in Seattle and truly believe that my desire to pursue art as a career was nurtured and cultivated at Tawonga.
With my six enthusiastic and artistically talented staff members, our mission is to facilitate an environment where campers can be creative and learn how to use a variety of media to further their artistic aspirations. Whether it’s enameling copper with glass, molding clay for pottery, or tie-dyeing T-shirts, we are always striving to create a fun environment where campers can express their truest selves.
The program is focused around a philosophy of what we call the “three C’s” — Creativity, Conservation, and Collaboration. We encourage campers to empower themselves by accepting that all art is unique and beautiful and that mistakes can inform the final product in a positive way. Additionally, we embody our mission of Tikkun olam (repairing the world) and a partnership with nature by making a conscious effort to reuse and recycle all our materials. Campers are reminded to share materials and the studio space, allowing everyone a chance to experiment and create something that will remind them of the great times they’ve had at camp.
A&C is an important camp program as it allows campers to have a creative outlet and learn new skills. I feel so fortunate to give back to a program that has given me so much and that allows me to witness campers express themselves through art.
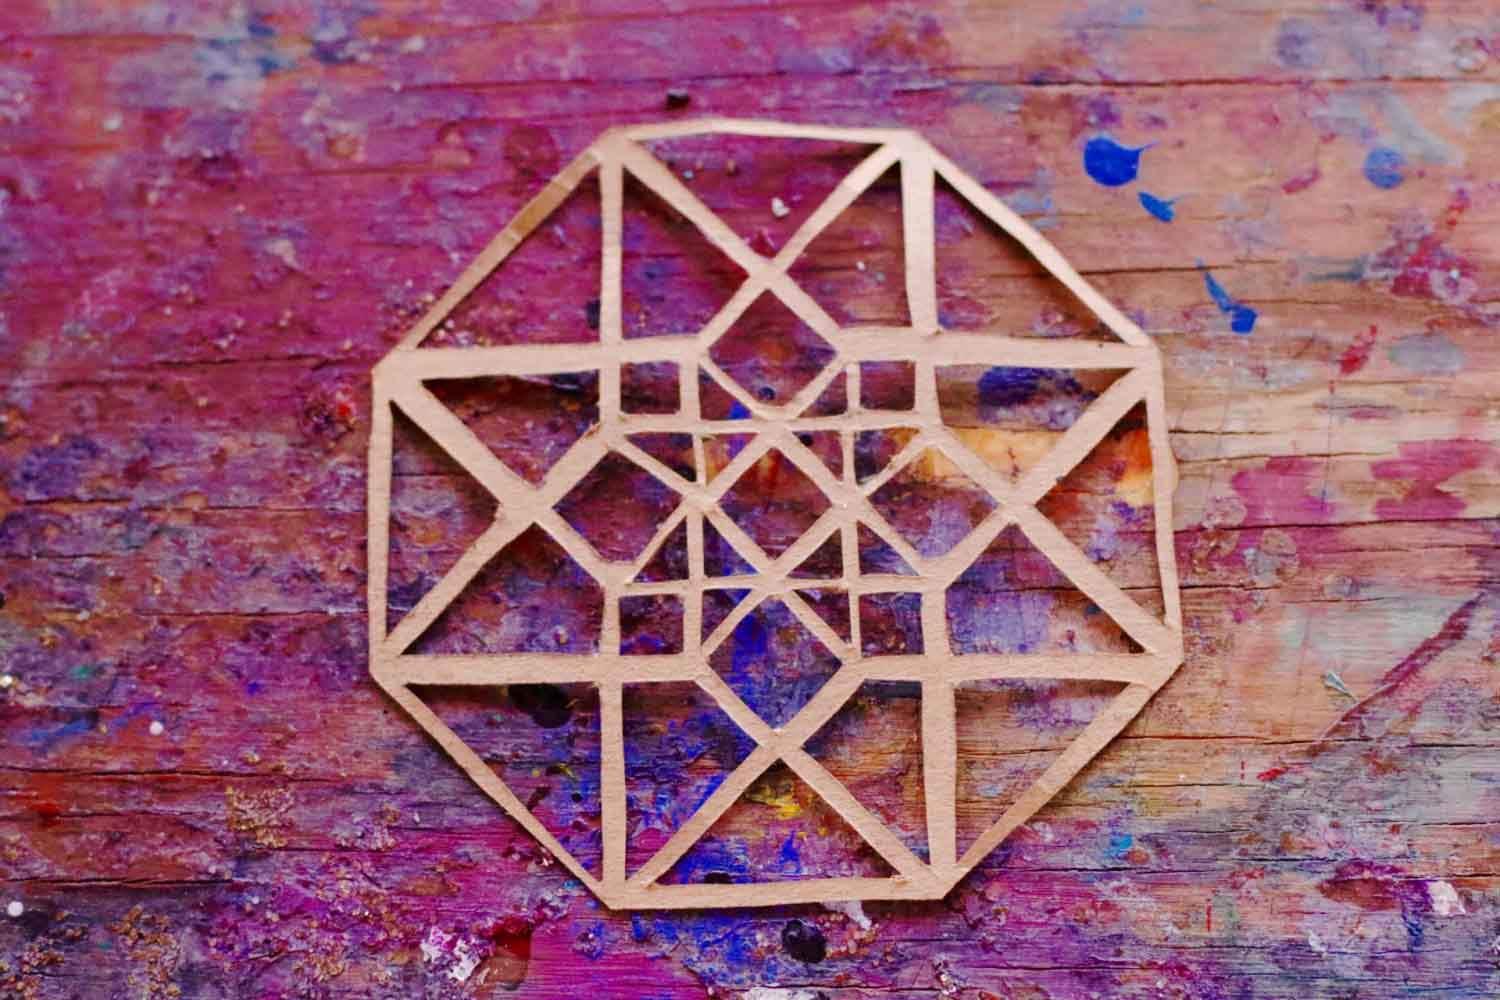
The projects we create here are some of the most tangible ways of helping campers bring the magic of Tawonga home. For that reason, we are including a step-by-step DIY guide for how to make stencil art — one of our favorite projects to do here at camp! Enjoy.
#TawongaDIY Stencil Art
What you’ll need:
- Recycled cardboard
- Variety of spray paints
- Pencil
- X-acto knife
- Poster paper
- Protective face mask
- Newspaper
- A good attitude!
Step 1: This might be the most important step of the whole process! Decide on a shape or image that you want to spray paint. Think: the more simple, the better. You want those fine lines and big block shapes that make it easy to get good color. The key question to ask yourself during this step is how many colors do you want to use? Remember, the best stencils will come from having fun with them! There’s no right way to do this.
Step 2: Draw out your shape on a big recycled piece of cardboard (Pro-tip: Check the recycling for any empty cereal boxes! These make for excellent stencils). With a pencil, draw out your shape that you planned out.
Step 3: Have an adult use an x-acto knife to cut out your stencil shape.
Step 4: Tape your stencil down to your poster paper. Now the fun part — unleash the spray paint! But before that (ahhhh!) lay down some newspaper to avoid making a mess. Additionally, in order to avoid inhaling any paint fumes, make sure to wear a protective face mask. Get creative and colorful with this part, there are no mistakes in art!
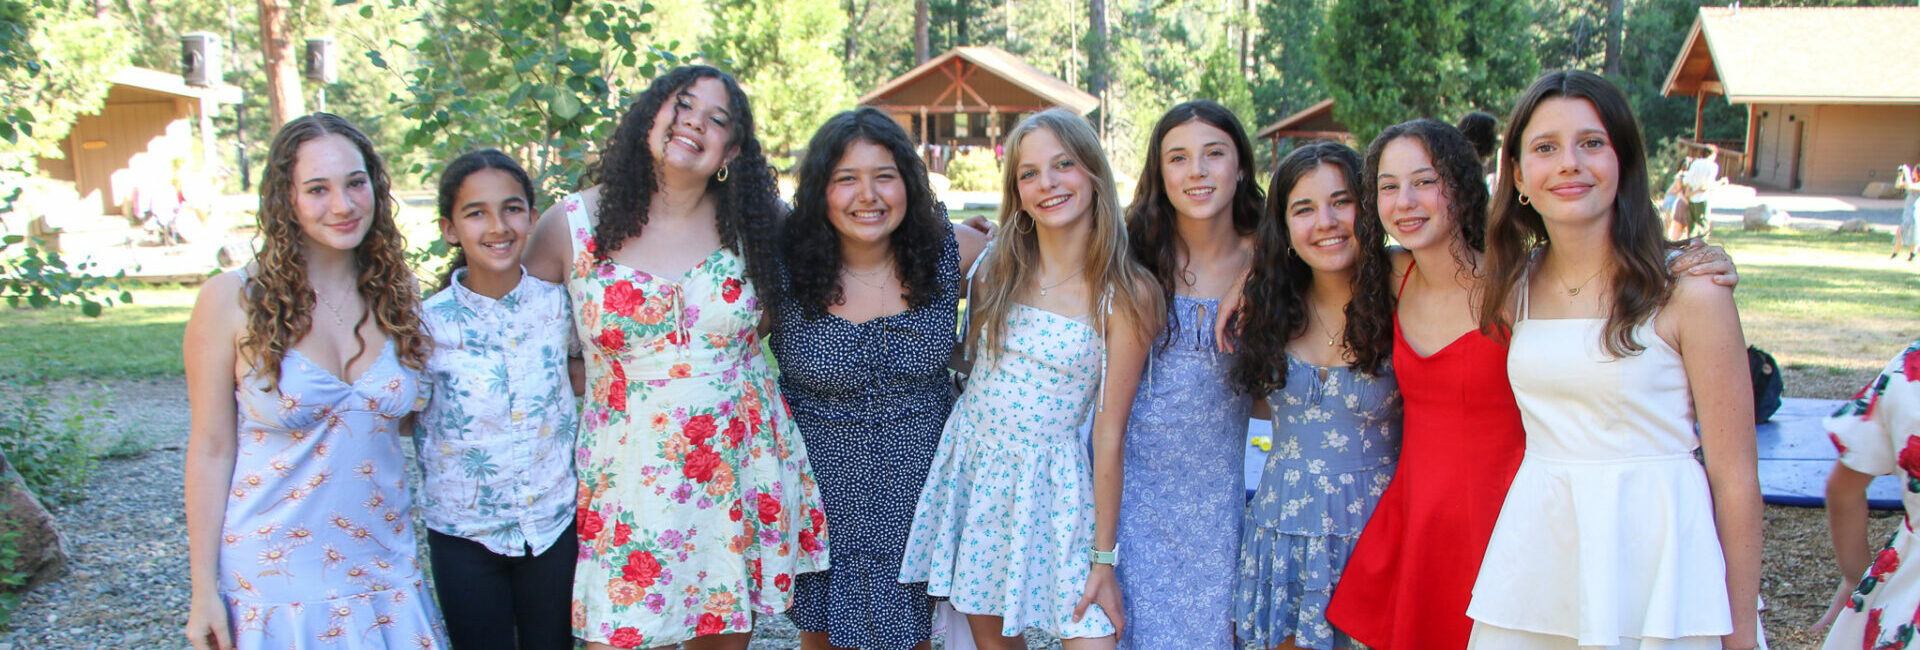
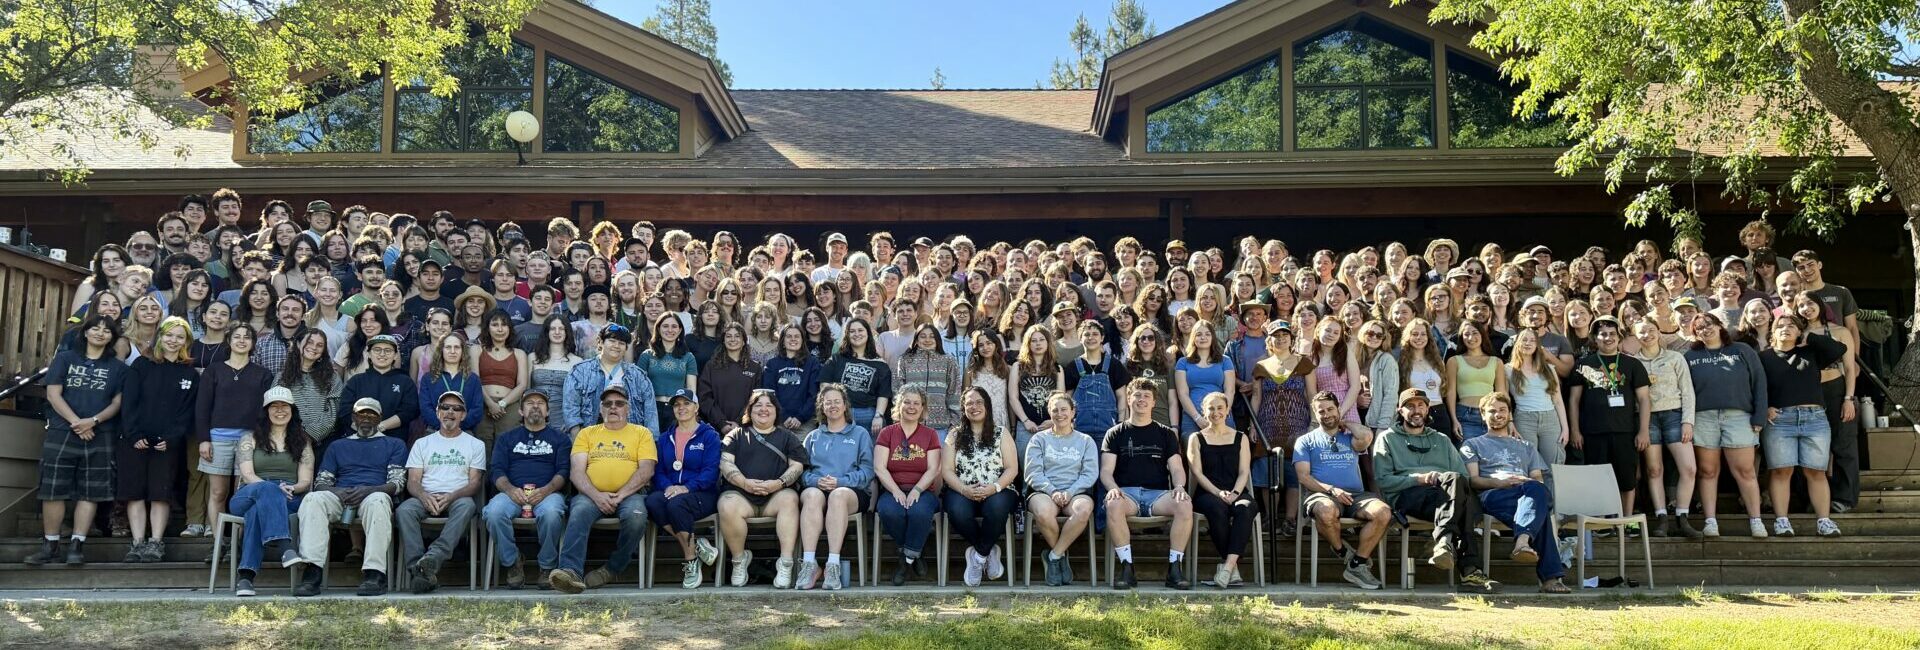
Congratulations! You just made your own Tawonga stencil art! Below enjoy photos from yesterday's All Camp Party, today's activities, and some camper art from throughout the session.